GoPro – when hero4 won’t turn on!
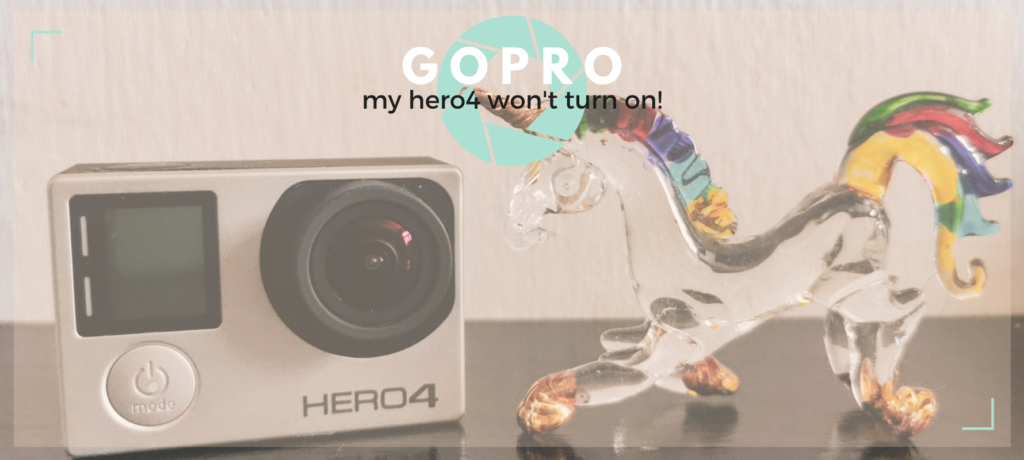
Diving gear: check. Diving card: check. Insurance card: check. Spoke with the girls: check. Great! Everything is ready for my first time organizing Women’s Dive Day. I am SO looking forward to it! Hold your horses… my GoPro! It’s not working – what is going on? It was not long ago that this problem popped-up last minute and my GoPro was not willing to accompany me on this beautiful day that I was so excited about. It was unbelievable (I like to say «almost magical») that with a little bit of patience -and dependance on others to take and share the pictures I wanted-, following a few steps, GoPro started to work again! 🙂 These are the steps I took: 1.- I removed the mini-SD card and inserted it in my computer. That way, I could secure my images, and also be sure that it was not the SD card which was messing with the camera. 2.- I removed and re-inserted the battery. 3.- Pressed the shutter button (the one to take pictures, as per the image above) for 10 seconds. 4.- Letting go the shutter button, I didn’t touch the camera for about 5 seconds. 5.- Pressed the «mode» button for about 10 seconds. As I did not obtain any response whatsoever from my camera, I moved on to the following step… 6.- I connected my GoPro to a wall socket (NOT to the computer) and put it to charge. I used an USB cable and a charger (in this case an iPhone charger, output 5V and 1A). *It is recommended to charge the camera plugged into the wall, rather than the computer. In my case, immediately and almost magically, the red LED light appeared when I put my camera to charge after the steps above. So… 7.- I left my camera to charge for a few hours until it was fully charged. When the GoPro is fully charged, the LED light will automatically turn off. 8.- When disconnecting the camera, I pushed «mode» button for a few seconds, and the camera turned on. Then, I turned it back off. 9.- Lastly, I waited about 10 seconds, and then introduced my mini-SD card. After 5 seconds, I turned the camera back on, waited another 5 seconds, and tried to take a picture. The camera worked. I tested videoing, and it worked. I checked the camera functionalities and settings, and everything worked as expected. I was so happy! This is how I reseted my GoPro and made it work. I think it is also important to mention that I also emptied my SD card and reseted it. *Disclaimer: The fact that it worked for me does not guarantee that it will work for you. If your camera is showing difficulties or failing, please, do not hesitate to contact GoPro.
GoPro – .lrv & .thm files
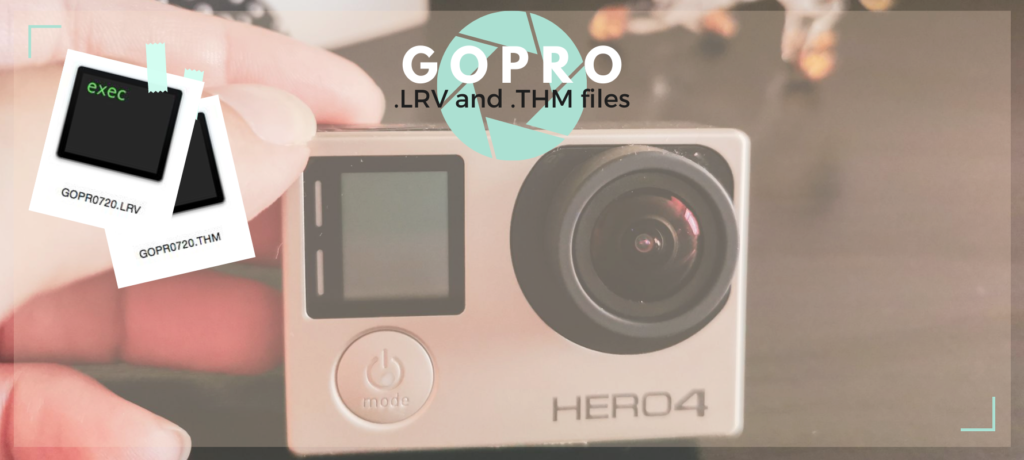
Has the following ever happened to you? You download your GoPro pictures and videos to your computer or external hard-drive, and you get some .thm and .lrv files just like these! Isn’t it a bit annoying having no idea of what all of this is about? Actually, it is pretty simple – let me help you with it! These files are just auxiliary files which can help when using the GoPro App. Using which GoPro will I see this? Hero5 Black Hero4 Black and Silver Hero3+ Hero3 HD Hero2 What are .thm? .thm is used as an abbreviation of the word thumbnail (miniatures). .thm files are basically a miniature of a video (.mp4), as image format. It is a frame of said video, a random capture of a specific moment of that video. When you want to select a video with the GoPro App (both on Android and IOS), the App shows a mosaic of mini-images which are captures that belong to each video you have recorded with your GoPro – that way, the clip you are looking for will be identified easier, and the App rendering will also be optimized. To check this, you can pick any .thm file and change it to .jpg (example: GOPR0623.thm becoming GOPR0623.jpg). You will see the image reduced to 14’577 bytes, and at the following dimensions: 160 x 120. When you download the original file into your computer, the .thm file can be erased no worries, as it only occupies some space in your drive. UNLESS you will use the App. Then, it will be convenient to keep them. What are .lrv? .lrv are the low resolution videos. .lrv files are video files, just the same as the original .mp4 but lower resolution. They are used like that, mainly, to optimize previsualization, again with the GoPro App. Therefore, the clip will be the same duration, just its size will be smaller, as it can be seen in the image above. To check this, you can switch .lrv for .mp4 (eg. GOPR0623.lrv becoming GOPR0623.mp4) – the file will be lighter and its dimensions will be reduced to 432 x 240. These files can be automatically generated, like with the previously mentioned cameras, or depending on resolution (in 5 Black or 4 Black or Silver). This file can be erased, as long as the original is being saved – Remember! You cannot expand the size of these reduced files. I hope this helps!! 🙂
Forestal Park tenerife – at night
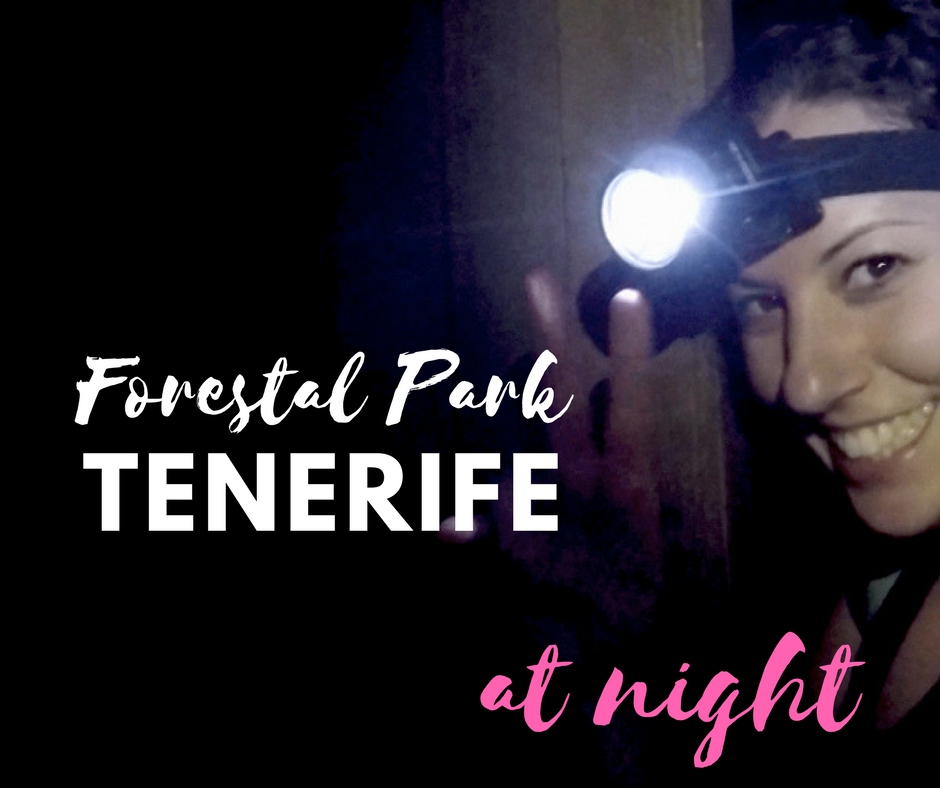
[updated] A few weeks ago, I had the great opportunity to be invited to the opening of Forestal Park Tenerife… at night! [icon icon=icon-moon size=14px color=#000 ] This adventure centre opens its doors all summer, every summer, to experience extreme sensations while up in the trees and with very low visibility. Ropes, zip-lines and lots of adrenaline. Are you in? Forestal Park has 86 different attractions, 11 of which are zip-lines, and are divided in different types of circuits. To start the activities, the team leaders will guide all users through one of their two briefing circuits, where the attractions, security procedures and doubts will be explained and resolved. Visitors will learn how to use the carabiners to always be at maximum security when away from the ground. Likewise, they will learn about climbing up and down from each game, how to cross them, and also the best posture to go down the zip-line. This step in compulsory for each participant – no exceptions. In the opening night, after some welcoming snacks, we split in two groups, and then went on the circuito deportivo (sporty circuit). It took us about three hours to complete it. We went on many different stations, reaching heights of 30 meters, and jumping off the longest zip-line in the park (and in the Canary Islands!), which is 230 meters long. This circuit is recommendable to all visitors who love feeling the adrenaline and who have no problems with heights. Nonetheless, all attractions have an escape way alternative in case users feel insecure once starting that phase of the circuit. To the adrenaline junkies like myself, I recommend you to keep moving forward and to experience the leap into the void… especially if you are able and willing to do it with no light at all. It is even better! The only disadvantage of doing this activity at night is the poor visibility, which is compensated by the head lamps. Everything else is just advantages: sensations are multiplied, you live a unique moment, adrenaline is double than during the daytime, emotions will make you feel goosebumps… the fresh air, Nature’s sounds, the lack of acoustic contamination, darkness, and even jumping without seeing where you are going… in my opinion, absolutely recommendable! If you want to live emotions and sensations, you just simply cannot miss this. Are you in? How to get there? The park is located on the road to el Teide via La Esperanza (close to La Laguna), at about 1400m, in the protected area of Las Lagunetas, being one of the most representative natural sites of the pinar canario (Canarian pines) in the Canary Islands. To easily get therefrom both South and North, you need to head towards La Laguna. Once in the area, go towards La Esperanza. You can go both by car or bus (aka: guagua, and the bus site of Titsa). From there, you’ll need to go by car or taxi (which you can take at Plaza del Adelantado, in La Esperanza). The GPS coordinates are: – Latitude: 28° 24′ 51.76″ N – Longitude: 16 ° 24′ 19.55″ O [su_gmap address=»Forestal Park Tenerife»] Recommendations – Bring warm and comfortable sports clothing. Preferably long (and not too loose) pants. – Bring sporty shoes. Preferably hiking boots or similar footwear, closed and tight. – Bring gloves (cycling style, leaving the fingers out). By doing so, your hands will be better protected from grazing against the ropes. – Check the weather. – Put up your hair in a ponytail or a braid. Loose hair is not allowed, due to security reasons. – Bring a small backpack for your personal belongings. There are no lockers, and bringing a small backpack is comfortable and does not graze or stop proper fitting of the harness. You’ll prevent losing your things when up high, or being harmed by them during your movements. The line of life The line of life is a security system created by Forest Experience, in which the adventurer is secured via carabiners to the circuit line, and that can only be modified when on land, before and after the activity. This way, even if an accident may happen, the user will always be safe and secure. Remarks This activity is not suitable for expecting mothers or people with functional physical diversity. Please, in case of having any questions, do not hesitate to contact Forestal Park Tenerife. Adventure is one of the biggest fascinations for humans. The best way to make a child enthusiastic about a new task is convincing him that it is an adventure. Later, enthusiasm for adventures will be the centre of life for many men and women. Special thanks to the director, Carmen, and to the team – especially José and Airam, for sharing their advice and stories. [spoiler alert: VIDEO coming up] (Check out more must-do activities in Tenerife)
Kayaking in Tenerife
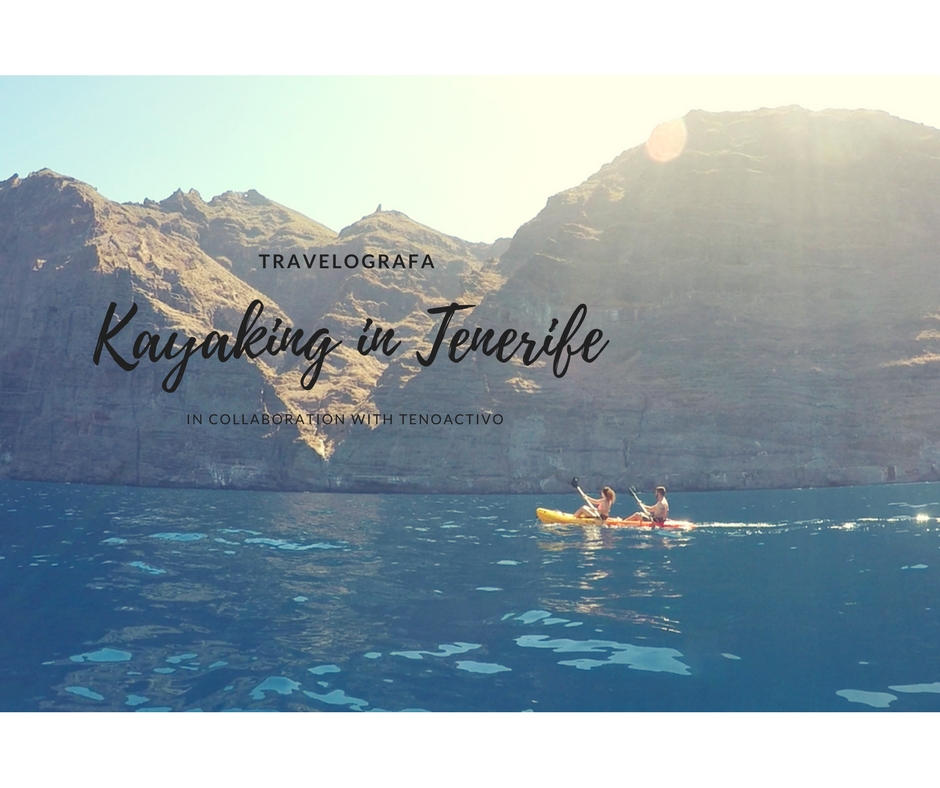
As I mentioned in the post top 9 must-do activities in Tenerife, kayaking in Tenerife is one of my top experiences. We decided to go to Los Gigantes -an unmissable spot- and slide its waters, parallel to these impressive cliffs, guided by Teno Activo, a top local business, leader on these kind of activities. Did you know that the Acantilados de Los Gigantes (the cliffs) are 12 kms away from Teno? Did you know that Los Gigantes and Anaga were the first places of the island to surface? The guide that lead our group told us these and many more interesting facts… Kayaking by the coast is an excellent activity to do when the ocean wants to show itself calm. This way, it doesn’t turn out to be a very exigent activity, while still keeping you active. You can look up and observe orography at its best. In the image below, you can spot the galleries created in the forties, to transport water from barranco to barranco (water-ways/ ravines). Nowadays, they’re hiking routes. The vertical lines, known as diques, were solidified first, becoming hard stone that takes longer to erode than the rest of the cliff’s wall. Just before jumping in the water, we stopped at the Bay of Echo. It is the only bay without a barranco, and should not be approached, as its wall elevates dangerously over the shore, increasing the consequences of a possible landslide. When separating from that point, still close to the cliffs and safe, a stop is made. There, you can have a snack and jump in the crystalline waters to freshen up. You can take your own gear -or enjoy the one provided by the company- to observe the bottom on the ocean, as the show continues underwater. This excursion is for all ages. We had two guides: one that was next to us, also kayaking, and telling us #funfacts about the area; and another one that went on a boat. The later would check the state of the coast, look for dangers and keep us all safe in case of an emergency; and of course, to close the group, controlling everyone’s on his sight. Also, he’s the one carrying the snacks, so he knows everybody will pay attention to him 😉 Undoubtedly, a little trip to take and repeat (not my first time, not my last 🙂 ). [su_youtube url=»https://youtu.be/AAnl656aMAA»] Do you want to book your excursion via travelOgrafa? Contact me here, and I will organize it for you! 🙂